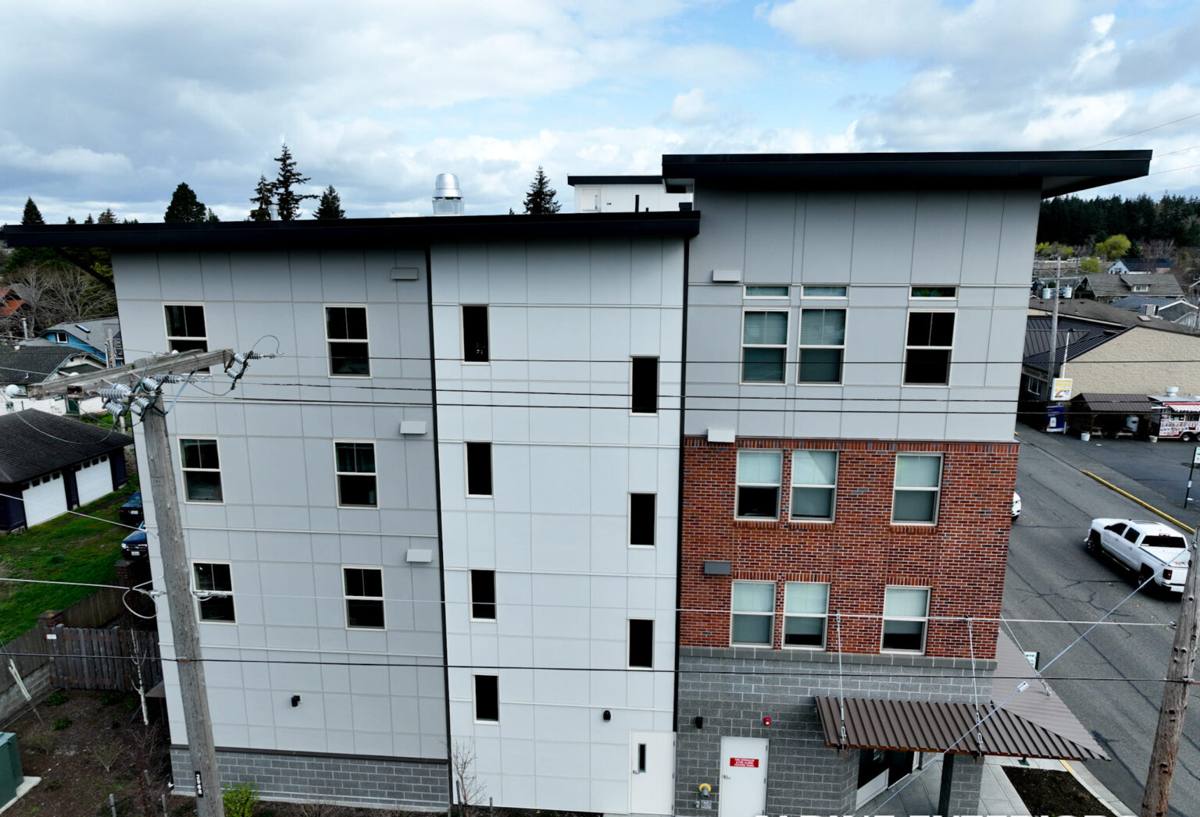
 Chuckanut Exterior
 New-Construction Windows Are a Different Job Than Window Replacement
A lot of homeowners lump "new windows" together as one service, but installing windows into a house that's still framed and not yet sided is a different job than swapping windows into an existing wall. On a new build, there's no old window to remove, no interior trim to protect, and no guessing at what's hiding behind the siding. The rough openings are open, the weather-resistive barrier (WRB) either isn't on yet or is going on at the same time, and the window gets built into the wall assembly from scratch. That's an advantage — if the crew doing it understands how water actually moves through a wall in this climate.
Why the installation method matters more than the window brand
We've said this to plenty of builders and homeowners in the Fairhaven area: the window unit itself is only part of the equation. A well-made window installed with a lazy flashing sequence will leak eventually. A modest window installed correctly, with a proper sill pan, shingled flashing, and sealed nailing fin, will outlast a lot of "premium" units that got rushed in. New construction is where that installation quality either gets built in right the first time, or gets buried behind siding for someone to discover years later.
What Fairhaven's Climate Does to Windows Over Time
Fairhaven sits close to the water, and that proximity shapes how windows need to be built and installed here. Salt air off Bellingham Bay is corrosive to unprotected metal components — fasteners, hardware, and some window frame materials degrade faster near the water than they would ten or twenty miles inland. Add in the region's driving rain, which comes sideways during winter storms rather than falling straight down, and you've got wind-driven water testing every seam around a window opening. Whatcom County's long, wet stretch of the year also means extended moss and algae growth on north-facing and shaded surfaces, which holds moisture against building materials for months at a time.
None of this means windows fail quickly here. It means the margin for error in flashing, sealant choice, and frame material is smaller than it would be in a drier, inland climate. A new-construction install is the best chance to build in that margin before the wall ever gets closed up.
Choosing a Frame Material That Holds Up Near the Water
Frame material selection matters more in a coastal, high-moisture environment than it does in most parts of the country. We'll talk through options with you based on budget, style, and how exposed the elevation is to weather, but here's the general trade-off picture:
| Frame Material | How It Handles Salt Air & Moisture | Best Fit For |
|---|---|---|
| Vinyl | Won't corrode or pit from salt air; performs consistently in wet climates; seams and welds are the main long-term watch point | Budget-conscious builds, rental or spec homes, most standard elevations |
| Fiberglass | Very stable in temperature swings and moisture exposure; holds paint well over time; among the more forgiving materials near the water | Exposed elevations, larger openings, owners planning to stay long-term |
| Wood interior / clad exterior | Handsome interior look; exterior cladding protects the wood, but any breach in that cladding lets moisture reach wood underneath | Interior-focused design priorities, protected elevations away from direct weather |
| Aluminum | Strong and slim-profile, but bare or lightly finished aluminum is more prone to corrosion and pitting in salt air over time | Commercial-style aesthetics, protected or inland-facing applications |
None of these are "wrong" choices — they're trade-offs. Our job is to make sure whichever material you choose gets installed with flashing and drainage details that account for its specific weak points, not a generic approach applied to every frame type the same way.
Flashing and Water Management: The Part No One Sees Again
Once siding goes on, the flashing behind a window is invisible for the life of the house — unless something goes wrong. That's exactly why new construction is the moment to get it right, and why we treat this step as non-negotiable regardless of how tight the framing schedule is.
What a proper sequence looks like
Water has to be directed out of the wall assembly, not just blocked from entering it. That means the sill of the rough opening gets a sloped or pre-formed pan flashing so any water that does get past the window has somewhere to go besides straight down into the framing. Side and head flashing get layered — shingle-style, top piece over the one below it — so water sheds outward at every layer, the same principle as roof shingles or siding courses. The WRB gets integrated into that same sequence rather than just taped over the top of the window afterward. Sealant and backer rod go where they belong: at the exterior face, not as a substitute for physical flashing.
This is where driving rain off the Salish Sea becomes the real test. A flashing job that would hold up fine in a calmer, drier climate can fail here if wind-driven water finds a gap that wasn't shingled correctly. We build every new-construction window install as if that storm is coming, because on this stretch of coastline, it eventually will.
Meeting Washington State's Energy Code
New construction in Washington has to meet current state energy code requirements, and windows are one of the components most scrutinized for compliance. That generally comes down to U-factor (how well the window resists heat transfer) and, depending on the project, solar heat gain coefficient for certain orientations. We work with builders to select window specs that meet code for the specific project — whole-house prescriptive path or a performance-based approach, depending on how the rest of the envelope is designed — and we install to the manufacturer's specifications required to keep the product warranty intact. Skipping that step, or installing a code-compliant window incorrectly, can create problems at final inspection that are far more expensive to fix once siding is on.
How We Sequence a New-Construction Window Install
Coordinating with a builder or general contractor is a big part of doing this well. Windows go in at a specific point in the framing schedule, and getting that timing wrong causes delays for everyone on the job site.
- Rough openings are checked for square, plumb, and correct dimensions before any window arrives — catching a framing error here is far cheaper than after windows are on site.
- Sill pan flashing is installed first, sloped to drain outward.
- The window unit is set, leveled, shimmed, and fastened per the manufacturer's nailing fin schedule — not just "however many nails fit."
- Side and head flashing go on in the correct shingled order, integrated with the WRB.
- Interior and exterior sealant joints are completed where the manufacturer specifies, with backer rod used correctly so sealant isn't asked to do a gap-filling job it wasn't designed for.
- Every opening gets a final check for level, square operation, and weather-tight seal before we sign off and the crew moves to siding.
We communicate directly with the builder's schedule rather than working in isolation, because a window crew that shows up out of sequence — too early or too late relative to the WRB and siding trades — is how gaps in the water management plan happen.
Checklist: What a Correct Installation Involves
- Rough opening verified square, plumb, and correctly sized before installation
- Sloped sill pan flashing installed beneath every window, no exceptions
- Flashing layered shingle-style with the WRB, not taped on as an afterthought
- Nailing fin fastened per manufacturer schedule, not a generalized pattern
- Sealant and backer rod used at the exterior face per manufacturer spec
- Window operation, level, and seal checked before siding covers the opening
- Frame material and glazing spec confirmed to meet Washington energy code for the project
- Fasteners and hardware appropriate for a marine/salt-air environment
Why Hiring a Crew That Already Works Fairhaven Matters
A lot of window installation guidance is written for a generic climate that doesn't really exist in the Pacific Northwest, let alone this close to the water. A crew that regularly works in and around Fairhaven and greater Whatcom County has already seen how salt air treats different frame materials over years, not just on paper. We know which elevations on a typical build take the brunt of winter storms and need extra attention to flashing, and we're familiar with the inspection expectations of the local building department, which keeps the schedule moving instead of stalling out over avoidable rework. That local track record isn't a marketing line — it's the difference between a flashing detail that looks fine on installation day and one that's still performing after five wet winters.
Living With New Windows in a Marine Climate
Once the windows are in and the house is finished, a little routine attention keeps them performing the way they were installed to. Rinse accumulated salt residue off exterior frames and hardware a couple of times a year, especially on elevations facing open water or prevailing wind. Keep an eye on caulk lines at the exterior trim — sealant is a maintenance item, not a permanent one, and re-sealing a hairline gap early is far cheaper than dealing with water intrusion later. On shaded, north-facing walls where moss and algae tend to build up, keep growth from bridging onto window trim and frames, since trapped organic matter holds moisture against the surface longer than open air would. None of this is unusual maintenance — it's just what a coastal Whatcom County home needs to get the full life out of its windows.
If you're building in Fairhaven and want windows installed correctly the first time — proper flashing, the right frame material for a salt-air, high-rain climate, and full code compliance — we're happy to walk the plans with you and put together a free, no-pressure estimate. Fill out the form below and we'll get back to you.