 Chuckanut Exterior
 New Roof Installation Built for Bow's Conditions, Not a Generic Climate
Bow sits close enough to Samish Bay and the greater Puget Sound shoreline that homes here deal with a combination most inland roofing crews rarely see up close: salt-laden air, driving wind-driven rain off the water, and long stretches of shaded, damp weather that keep roof surfaces wet far longer than a textbook drying time would suggest. A roof installed the same way you'd install one in a dry inland town will not perform the same way in Bow. The materials, the flashing details, and the ventilation all need to account for what this specific stretch of Whatcom County throws at a roof year after year.
This page is about one job: putting a new roof on a home in Bow, done correctly for this climate. Not a general overview of roofing — the specific decisions that matter when the job is here.
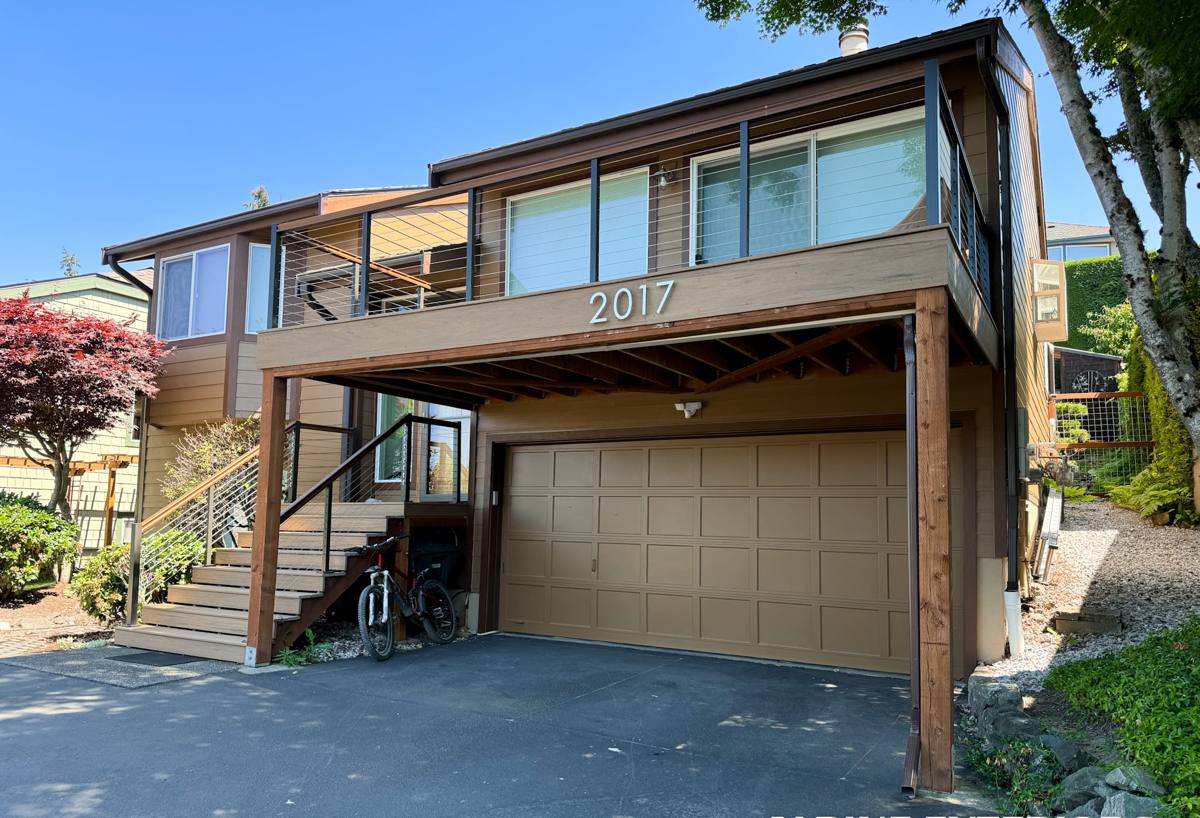
What Bow's Climate Actually Does to a Roof
Salt Air
Proximity to the bay means airborne salt settles on roofing surfaces and, more importantly, on any exposed metal — flashing, fasteners, vents, and drip edge. Salt accelerates corrosion on lower-grade metal components. It doesn't ruin a roof overnight, but over ten or fifteen years it will find every piece of hardware that wasn't rated for coastal exposure and start working on it.
Driving Rain
Whatcom County rain isn't always the gentle, straight-down kind. Storms off the water push rain sideways, which means it hits vertical surfaces, works up under shingle tabs, and finds its way into any flashing detail that's slightly short or under-lapped. A roof that would shed water fine in calm conditions can leak in Bow if the flashing and underlayment weren't installed with wind-driven rain specifically in mind.
Moss Season
Between the shade from mature trees common in this area and months of consistently damp roof surfaces, moss has ideal growing conditions for a large part of the year. Moss isn't just cosmetic — it holds moisture against the roofing material, lifts shingle edges as it grows, and can work its way under flashing over time. A new roof installation is the best opportunity to build in moss resistance from day one, rather than fighting it after the fact.
What a Correct New Roof Installation Actually Involves
"New roof" covers a lot of ground, and the difference between a roof that lasts and one that fails early almost always comes down to what happens underneath the visible layer. A correct installation includes:
- Full tear-off of the old roofing material, not a layer-over installation, so the deck can actually be inspected
- Deck inspection and repair — soft, delaminated, or water-damaged sheathing gets replaced before anything new goes down
- Ice-and-water shield membrane at eaves, valleys, and any roof-to-wall transition, since these are the areas driving rain and moss moisture concentrate
- A synthetic or felt underlayment across the full field, sized and lapped for wind-driven rain, not just standard coverage
- New flashing at every penetration, valley, chimney, and wall intersection — reused old flashing is a common shortcut and a common source of future leaks
- Balanced intake and exhaust ventilation, sized to the attic, not just a vent added because there was room for one
- Fasteners and exposed metal rated for coastal/salt exposure, not standard-grade hardware
Skipping or shortcutting any one of these doesn't show up as a problem on installation day. It shows up two, five, or ten years later, usually as a leak that's harder and more expensive to trace than it would have been to prevent.
Choosing Roofing Materials for a Bow Home
There's no single "best" roofing material for every home — it depends on the roof's exposure, the home's style, and the owner's tolerance for maintenance. Here's how the common options actually compare in this specific climate:
| Material | Salt Air Performance | Moss Resistance | Maintenance Load |
|---|---|---|---|
| Architectural asphalt shingle | Good, with corrosion-rated flashing and fasteners | Moderate — benefits from zinc/copper strips at the ridge | Low to moderate |
| Standing seam metal | Very good, when finish and fasteners are coastal-rated | Very good — moss struggles to hold on a smooth metal surface | Low |
| Cedar shake | Fair — needs regular upkeep near salt exposure | Poor without diligent maintenance | High |
We don't install cedar shake as a matter of professional standard for homes with this level of moisture and moss exposure — not because it's a bad-looking product, but because in a climate this consistently damp it demands a maintenance schedule most homeowners can't realistically keep up with, and when that upkeep lapses, moisture problems follow. Asphalt and metal both give you a roof that performs well here with a maintenance burden that's actually sustainable.
A Note on Zinc and Copper Strips
Installing a narrow zinc or copper strip near the ridge is a simple, low-cost addition during a new installation. Rain washing over the strip carries trace metal ions down the roof surface, which suppresses moss growth on the field below. It's not a substitute for proper ventilation and drainage, but on a Bow roof with heavy shade exposure, it's a detail worth including.
Ventilation and Moisture Control
A roof deck that can't breathe stays damp longer than it should, especially under the persistent gray-sky conditions common to this part of Whatcom County. Poor ventilation traps moisture in the attic space, which condenses against the underside of the deck and creates the exact damp conditions that rot sheathing and feed moss from below as well as above. Correct ventilation means balanced intake at the eaves and exhaust at or near the ridge, sized to the square footage of the attic — not just whatever vent happened to be on the truck. On a re-roof, this is also the point where we check that bathroom and kitchen exhaust fans are actually ducted to the exterior and not just dumping moist air into the attic, which we still find on older homes in this area more often than you'd expect.
Our Installation Process
- On-site inspection and estimate. We walk the roof, check the attic, and look at drainage patterns around the home before quoting anything.
- Material selection. We go over the honest trade-offs for your specific roof exposure and budget — no upselling toward a product that doesn't fit your home.
- Full tear-off. Old material and underlayment come off completely so the deck is fully exposed for inspection.
- Deck repair. Any soft or damaged sheathing is replaced before we move forward — this gets documented and discussed with you, not just done and billed.
- Underlayment and flashing. Ice-and-water membrane at vulnerable areas, full-field underlayment, and new flashing throughout.
- Roofing material installation. Installed to manufacturer spec, with attention to fastening patterns suited to wind exposure.
- Ventilation check and correction. Intake and exhaust balanced for the attic space.
- Final walkthrough. We review the completed roof with you, including any warranty paperwork.
What It Costs and What Actually Drives the Price
Every roof is different, so exact numbers only come from an on-site look. In general terms, a new asphalt shingle roof on a typical single-family home runs in the low-to-mid five figures, with standing seam metal running higher due to material and labor. What moves the number more than most homeowners expect:
| Cost Factor | Why It Matters |
|---|---|
| Roof pitch and complexity | Steep or multi-plane roofs take longer and require more safety setup |
| Deck condition | Rotted or water-damaged sheathing found at tear-off adds material and labor |
| Material choice | Asphalt, metal, and specialty materials carry very different price points |
| Number of penetrations and valleys | Each one needs custom flashing, which adds labor time |
| Access and site conditions | Tree cover, driveway access, and staging space affect crew efficiency |
We give a firm, written estimate after the inspection — not a phone-quote guess — so you know what you're actually paying for before work starts.
Keeping a New Roof Performing After Installation
A correctly installed roof still benefits from basic upkeep in this climate. What we recommend to Bow homeowners:
- Clear debris and needles from valleys and gutters at least twice a year — more often under heavy tree cover
- Have moss growth addressed early rather than left to spread across a full season
- Keep gutters and downspouts flowing freely so water isn't backing up under the eave line
- Trim back overhanging branches to reduce shade and debris buildup on the roof surface
- Schedule a visual inspection after any major windstorm, particularly one with strong gusts off the water
- Watch for interior ceiling stains or musty attic smells, which are early signs worth catching before they become larger repairs
Why Local Experience in Bow Actually Matters
A crew that hasn't worked this specific stretch of Whatcom County doesn't automatically know how much wind-driven rain a given roof orientation takes, how aggressive moss growth gets under the tree cover common here, or which flashing details tend to fail first on homes exposed to bay air. That knowledge comes from doing the work here repeatedly, not from a general roofing background. When you're comparing contractors, ask directly about their experience with coastal exposure and moss-prone roofs in this area — the answer tells you a lot about how the job will hold up ten years from now, not just how it looks on installation day.
If you're weighing a new roof for your Bow home, we're happy to take a look and walk you through what your specific roof needs — no pressure, no obligation. Use the form below to request a free estimate.