 Chuckanut Exterior
 Siding Installation in Sehome: Built for This Corner of Whatcom County
Sehome homes sit close enough to the water and the weather patterns off Bellingham Bay that siding here works harder than siding fifty miles inland. Salt-laden air, driving rain that comes in sideways off the water, and a moss season that can stretch most of the year all put steady pressure on whatever material is covering the walls. A siding installation in Sehome isn't just about picking a color and nailing up panels — it's about choosing a system and an installation method that can actually stand up to this specific mix of conditions, year after year.
This page walks through what Sehome homes need from their siding, what a correct installation actually involves, how we approach the job, and why we've standardized on one product system rather than offering a menu of options.
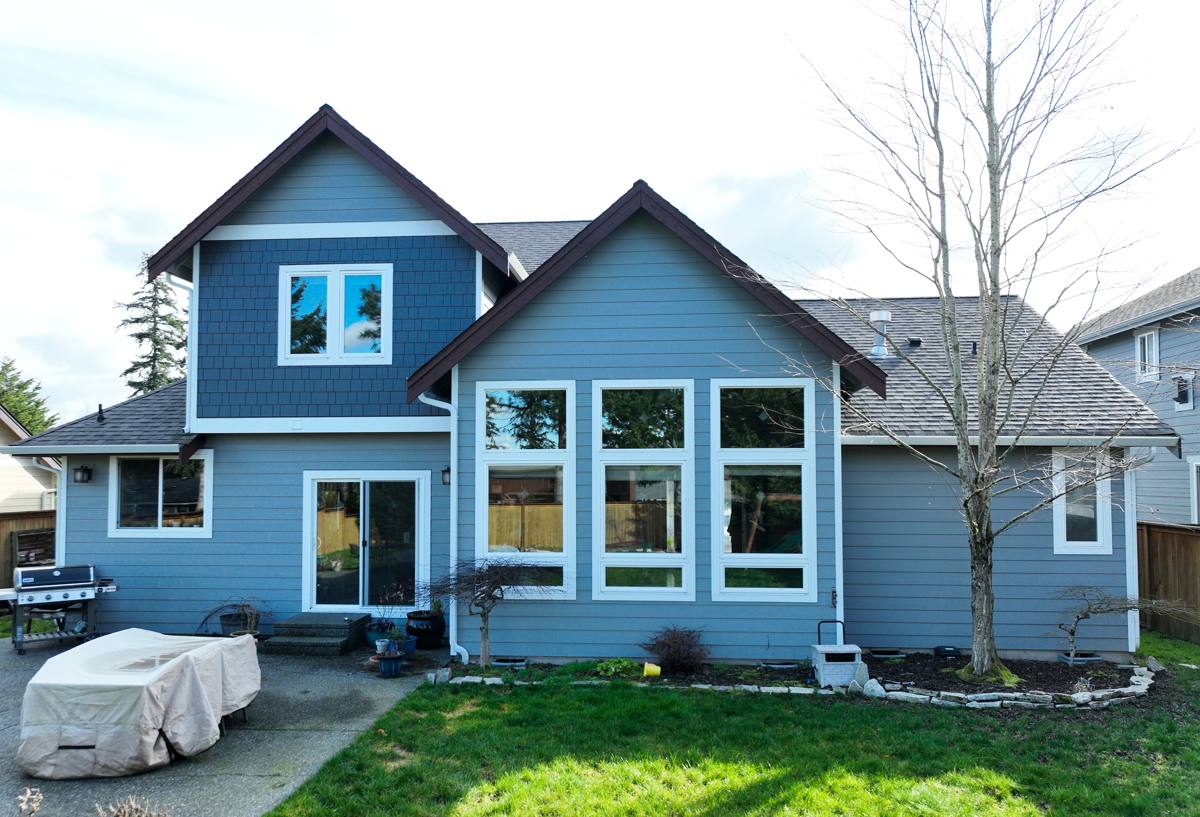
What Sehome's Climate Does to Siding
Salt air
Proximity to the bay means airborne salt finds its way onto exterior surfaces more often than homeowners realize. Salt accelerates corrosion on fasteners and metal trim, and it can degrade paint films and some engineered wood products faster than the same materials would wear inland. Any siding material or fastening hardware used here needs to tolerate that exposure without breaking down early.
Driving rain
Whatcom County gets plenty of rain, but the kind that matters most for siding is wind-driven rain that hits walls at an angle instead of falling straight down. That kind of rain finds gaps in flashing, undersized laps, and poorly sealed penetrations that would never leak in a calmer climate. Siding installed without careful attention to water management — house wrap, flashing details, correct overlap — will eventually let moisture behind the cladding, even if it looks fine from the curb.
Moss season
Shade, moisture, and mild temperatures make this part of Washington a good environment for moss and algae growth on north-facing and shaded walls for much of the year. Materials that hold moisture at the surface, or that have a finish that doesn't resist organic growth, will show green and black staining faster here than they would in a drier climate.
What a Correct Siding Installation Actually Involves
A siding job can look finished and still be wrong underneath. The parts that matter most are the ones you can't see once the panels are up:
- A properly lapped weather-resistive barrier behind the siding, with no gaps or reversed laps
- Correct flashing at every window, door, and roof-to-wall intersection
- Manufacturer-specified clearances from grade, decks, roof lines, and other siding terminations
- Fasteners sized, spaced, and driven per the manufacturer's installation instructions — not just "close enough"
- Caulking and sealant used only where the manufacturer calls for it, not as a substitute for proper flashing
- Factory-finished panels handled and cut in a way that doesn't compromise the finish or expose raw edges to weather
Skipping or rushing any of these is how a siding job that looks good at completion turns into a moisture or maintenance problem in five to ten years — often right around the time it would otherwise be past its warranty concerns.
Our Installation Process
Assessment and measurement
We start by walking the exterior, checking existing siding and sheathing condition, noting problem areas (typically shaded walls, low-clearance sections, and anywhere trim or flashing looks compromised), and measuring for material takeoff.
Tear-off and sheathing inspection
Old siding comes off and we inspect the sheathing underneath. Any rot, soft spots, or existing moisture damage gets addressed before anything new goes on — installing new siding over a wet or damaged wall just hides the problem.
Weather barrier and flashing
We install or verify the weather-resistive barrier and integrate flashing at every window, door, and penetration before the first piece of siding goes up. This is the step that determines whether the house stays dry for the next several decades.
Installation to manufacturer spec
Panels, fasteners, and clearances are installed per the manufacturer's published instructions — not a generic approach applied to every product. This is also where correct clearance from grade and decking matters most for a property like this, where standing moisture and splash-back are a real concern for much of the year.
Trim, caulking, and cleanup
Trim and joints are finished per spec, touch-up is done where needed, and the site is cleaned of debris and old material before we walk it with the homeowner.
Why We Install Only James Hardie Fiber Cement
We don't offer vinyl, LP SmartSide, Cemplank, Allura, primed spruce, or cedar. That's a deliberate standard, not a lack of options — every one of those products makes reasonable sense somewhere, but none of them holds up as well as James Hardie fiber cement to the specific combination of salt air, driving rain, and moss exposure that Sehome deals with.
Fiber cement is non-combustible, which matters given how much wildfire risk has become part of Pacific Northwest summers even in coastal counties. It doesn't rot the way wood-based products can when moisture gets behind it, and it doesn't have the seams and expansion joints that vinyl relies on — joints that are also where moss, algae, and grime tend to collect first. James Hardie's ColorPlus factory finish is baked on and warranted against fading and peeling, which holds up better against salt air exposure than field-applied paint, and it resists the kind of surface staining that shaded, damp walls develop over time better than raw or lightly primed wood siding.
Hardie also builds its HZ product lines to specific climate zones, engineering the material for regional moisture and temperature exposure rather than a one-size-fits-all formulation. For a property in this part of Whatcom County, that climate-specific engineering is a real, practical advantage — not a marketing detail.
None of this means other products are worthless. It means that once we compared long-term maintenance burden, moisture performance, and warranty strength for this specific climate, fiber cement was the clear standard, and we stopped installing anything else.
Material Comparison for This Climate
| Material | Salt air resistance | Moisture/moss resistance | Maintenance burden |
|---|---|---|---|
| James Hardie fiber cement | Strong — factory finish, non-combustible | Strong — engineered HZ lines, resists rot | Low — periodic wash, no repainting cycle |
| Vinyl | Moderate — can fade and become brittle | Moderate — seams collect grime/moss | Low, but limited repair options if damaged |
| LP SmartSide / engineered wood | Moderate — depends on finish upkeep | Requires diligent moisture management | Moderate to high — finish maintenance matters |
| Cedar / primed spruce | Weaker without consistent upkeep | Prone to moss/algae without regular treatment | High — repainting and sealing cycles |
Cost Factors for a Sehome Siding Project
Every home is different, but the main variables that move the price of a siding installation are consistent:
| Factor | Why it matters |
|---|---|
| Tear-off scope | Full removal of old siding vs. new construction changes labor significantly |
| Sheathing repair | Rot or moisture damage found during tear-off adds material and labor |
| Home size and complexity | Wall area, corners, dormers, and trim detail all affect labor hours |
| Siding profile and color | Lap width, shingle-style panels, and ColorPlus color choice vary in cost |
| Access and site conditions | Slopes, tight setbacks, and landscaping affect staging and scaffolding needs |
We give a firm, itemized quote after the initial walkthrough rather than a rough estimate over the phone — too much of the actual cost depends on what's underneath the existing siding.
Signs a Sehome Home Needs New Siding
- Soft or spongy spots when you press on the siding, especially near the bottom courses
- Persistent moss or dark staining that returns quickly after cleaning
- Visible warping, cracking, or gaps at seams and corners
- Paint that's failing faster than a normal repaint cycle, or bubbling
- Rising energy bills that suggest the wall assembly is no longer doing its job
- Visible daylight or drafts at trim and window edges
Maintenance Checklist Once New Siding Is In
- Rinse siding annually, focusing on shaded, north-facing walls where moss tends to establish first
- Keep gutters clear so overflow doesn't run directly down siding faces
- Trim back landscaping that keeps walls damp or shaded longer than necessary
- Inspect caulking at trim joints yearly and touch up as needed
- Address any impact damage promptly rather than letting moisture get behind a cracked panel
Why a Crew That Already Works Sehome Matters
A contractor who works this part of Chuckanut regularly already knows which walls on a typical lot see the least sun, where driving rain hits hardest depending on lot orientation, and how the local moss season behaves compared to drier parts of the county. That familiarity shows up in small decisions — where to be extra careful with flashing, which elevations need closer attention during installation — that a crew unfamiliar with the area might not think to prioritize. It also means we're a known, local business if you ever need a warranty question answered or a follow-up visit, not an outfit that drove in from out of the area for one job.
If you're weighing a siding project for a home in Sehome, we're happy to walk the property, look at what's there now, and give you a straight assessment — no pressure, no upsell. Reach out for a free estimate and we'll tell you exactly what we'd recommend and why.