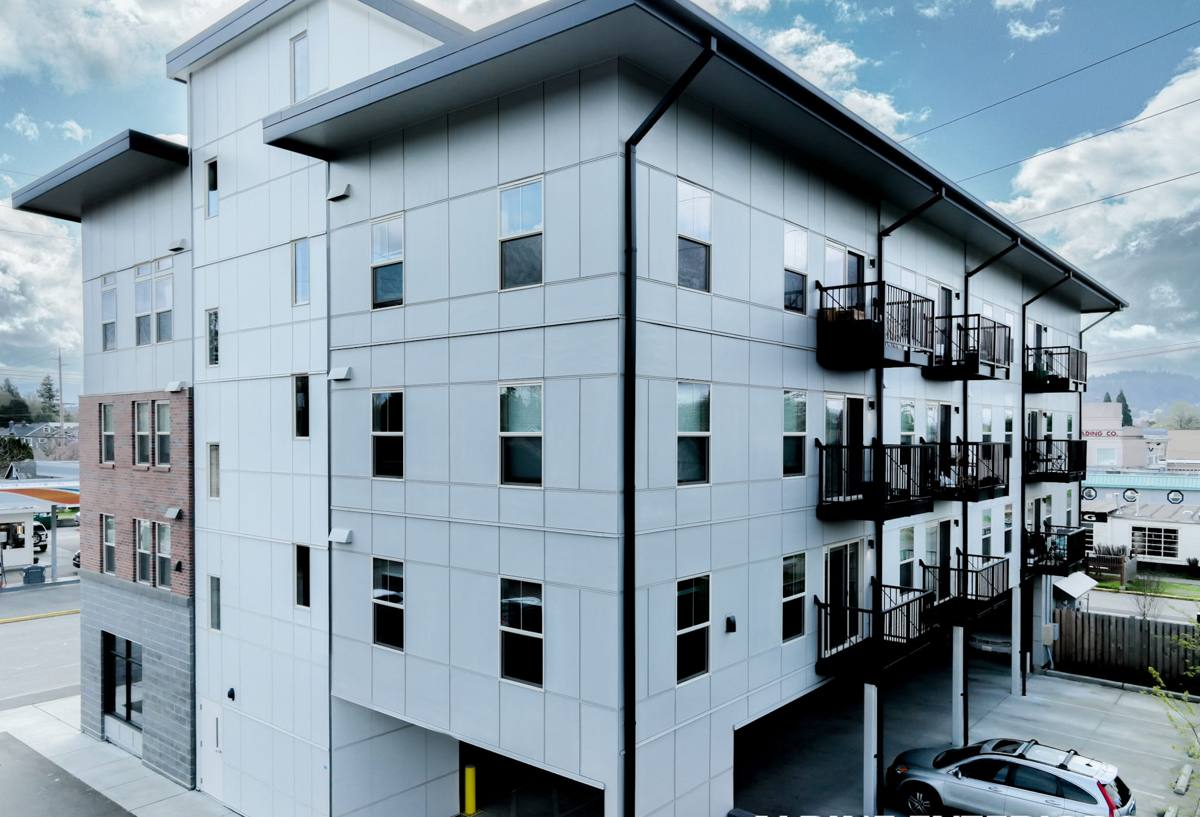
 Chuckanut Exterior
 Building New in Happy Valley Means Getting Windows Right the First Time
When you're building new in Happy Valley, windows aren't a swap-out you can revisit in ten years without opening up the wall. New-construction windows go in during framing, tied directly into the structure and the water-resistive barrier before siding ever gets hung. Whatever gets built into that opening — good or bad — stays there for the life of the house. That's a different level of responsibility than a replacement job, and it's why the installation sequence matters as much as the window itself.
Happy Valley sits in the kind of terrain that's common through this part of Whatcom County: mixed tree cover, sloped lots, and proximity to saltwater. None of that is exotic, but it does mean a window package that works fine in a dry inland climate can underperform here if it isn't detailed for what this area actually throws at a building envelope.
New-Construction Windows vs. Replacement Windows
These are genuinely different products and different jobs, and the distinction matters when you're pricing a build.
- New-construction windows have a nailing fin around the perimeter of the frame. They're set into a rough opening from the outside, fastened through that fin directly to the sheathing, and then integrated into the wall's drainage plane before siding goes on.
- Replacement (insert) windows get fitted inside the existing frame of an old window, with no nailing fin and no access to re-flash the opening. That's a different scope entirely, and it depends on the original installation having been sound.
Because a new-construction window is installed before the house is closed in, you get one real opportunity to build in proper drainage and flashing. There's no "we'll catch it on the next remodel."
What the Chuckanut Climate Does to a Window Installation
Whatcom County's marine climate isn't dramatic, but it's persistent, and persistence is what wears down a window installation over the decades. A few specific factors show up around Happy Valley and the Chuckanut area:
Salt Air
Proximity to saltwater accelerates corrosion on exposed metal — fasteners, hinge hardware, and unprotected flashing all degrade faster than they would inland. It's not a reason to avoid certain window lines, but it is a reason to use corrosion-resistant fasteners and flashing materials and to make sure any exposed hardware is rated for coastal exposure.
Driving Rain
Wind-driven rain doesn't just fall on a window — it gets pushed sideways and upward into any gap in the flashing. A window opening that relies on caulk alone to keep water out will eventually leak; it's a matter of when, not if. The flashing has to be built to shed water by gravity and geometry, with sealant as a backup, not the primary defense.
Long Moss Season
Shaded, tree-covered lots — common on the hillier parts of Happy Valley — stay damp longer after a rain event than open, sun-exposed sites. That extended dampness is what grows moss on roofs and siding, and it's also what keeps a poorly flashed window opening wet enough, long enough, to start rotting sheathing and framing behind the trim before anyone notices.
The Installation Sequence That Actually Keeps Water Out
A correct new-construction window install follows a specific order. Skipping or shortcutting any one step is usually where the callback three or five years later comes from.
- Rough opening prep — verify the opening is square, plumb, and sized correctly to the window's specified tolerances before anything else happens.
- Sill pan flashing — a sloped, back-dammed pan at the bottom of the opening so any water that does get past the window has somewhere to drain, out and away from the framing, instead of pooling against wood.
- Jamb flashing — self-adhered flashing tape up both sides, lapped over the sill pan.
- Window installation — set, shimmed level and plumb, fastened through the nailing fin per the manufacturer's schedule (this affects the window's wind and water rating, so it's not optional).
- Head flashing — installed last at the top, lapped over the jamb flashing and integrated with the water-resistive barrier above in shingle fashion, so water draining down the wall runs over the flashing and off the window, never behind it.
- WRB integration — every layer ties into the house wrap or building paper in the correct overlap order, maintaining one continuous drainage plane from roof to foundation.
Every step in that sequence is about one thing: making sure water that reaches the window ends up outside the wall, not inside it. Get the order wrong and you can have the right window and the wrong result.
Choosing a Frame Material for This Microclimate
There's no single "best" window material — the right choice depends on budget, maintenance appetite, and how exposed the specific elevation is to wind and rain. Here's how the common options generally perform in a coastal Whatcom County setting:
| Frame Material | Moisture & Salt Air Behavior | Maintenance | General Cost Position |
|---|---|---|---|
| Vinyl | Won't rot or corrode; performs well in wet, salty conditions | Low — no painting or sealing | Entry to mid-range |
| Fiberglass | Very stable in moisture and temperature swings; strong corrosion resistance | Low | Mid to upper range |
| Wood-clad | Clad exterior protects the wood from weather if the cladding stays intact; interior wood adds warmth | Moderate — cladding needs to stay sealed at joints | Upper range |
| Aluminum | Strong but conducts cold and is more prone to condensation in our climate unless thermally broken | Low, but condensation can create ongoing moisture issues | Varies widely |
For most new builds in this area, vinyl and fiberglass do the most work for the least long-term maintenance, which is part of why we install them most often on Whatcom County new-construction projects. That's a maintenance and moisture-performance call on our part, not a knock on wood-clad or aluminum — both have a place when the design calls for them and the detailing accounts for their trade-offs.
Meeting Washington's Energy Code Without Overpaying for Performance You Don't Need
New construction in Washington has to meet the Washington State Energy Code, which sets minimum U-factor requirements for windows based on the home's overall energy compliance path. In practice, that means every window package on a new build needs documented U-factor and, where relevant, solar heat gain ratings — not just "double pane" on a spec sheet.
A few things worth understanding before you spec windows:
- U-factor measures how much heat escapes through the window — lower is better for our climate, where keeping heat in matters more than keeping it out.
- Low-E coatings and argon fill are standard on most code-compliant packages now and help with both energy performance and condensation resistance.
- Condensation resistance matters more here than in drier climates — a window that fogs or streaks on the inside during our wet, cool months is usually a sign of a weaker thermal package, not a defect.
- Egress requirements apply to bedroom windows regardless of style, and need to be checked against the room layout before windows are ordered, not after.
The goal is matching the window to what the code and the design actually require — not over-speccing every opening on the house with the same high-end unit regardless of exposure or orientation.
How We Work Alongside Your Builder or GC
On a new build, windows have to land at a specific point in the framing timeline — after the rough opening is framed and the WRB is ready, but before siding starts. Miss that window (no pun intended) and it creates delays for every trade behind it.
We coordinate directly with your general contractor or framing crew on timing, confirm rough opening sizes against the ordered window schedule before installation day, and handle our portion of the WRB integration so there's no gap in the drainage plane between our flashing work and the siding crew's later work. On a job with multiple trades touching the building envelope, that handoff is exactly where problems tend to start if nobody owns it.
Why Local Happy Valley Experience Matters
A window package that's correct on paper can still underperform if it isn't installed with the specific site conditions in mind. Working regularly in and around Happy Valley and the broader Chuckanut area means we already have a working sense of which elevations on a given lot take the worst of the wind-driven rain, which sites stay shaded and damp longer into the day, and how local building department inspectors expect flashing details documented and presented at inspection.
That local familiarity doesn't replace following the manufacturer's installation instructions and the energy code — it just means fewer surprises and fewer change orders once the crew is on site.
A New-Construction Window Checklist for Your Build
If you're vetting contractors or just want to understand what a correct install should include, here's what should be happening on your job:
- Rough openings verified against actual window dimensions before delivery
- Sloped, back-dammed sill pan flashing at every opening
- Self-adhered flashing tape at jambs, lapped correctly over the sill pan
- Fasteners installed per the manufacturer's schedule, not "close enough"
- Head flashing lapped over the WRB in proper shingle-style order
- Corrosion-resistant fasteners and hardware given the salt air exposure
- U-factor and egress requirements documented for code compliance
- Windows checked for square, level, and plumb before final fastening
If a contractor can't walk you through most of these steps when asked, that's worth noticing before the framing stage, not after.
If you're planning new construction or an addition in Happy Valley and want windows installed correctly from the first nail fin to the last flashing lap, we're glad to walk the plans with you. Reach out below for a free, no-pressure estimate — no obligation, just a straight answer on what your build needs.