 Chuckanut Exterior
 Why Chuckanut and Larrabee Take Storm Damage Differently
Chuckanut Drive and the Larrabee area sit right where the Cascade foothills meet Samish Bay, and that stretch of Whatcom County shoreline takes weather that inland roofs in the same county rarely see. A roof here isn't just shedding rain — it's fighting salt-laden wind off the water, funneling gusts through the timbered bluffs, and a moss season that can run eight or nine months out of the year. Storm damage repair in this pocket of the county is a different job than storm damage repair twenty minutes inland, and it should be treated that way.
Salt Air Off Samish Bay
Airborne salt doesn't just sit on the roof surface — it works into fastener heads, flashing seams, and any exposed metal edge. On a roof a few miles inland, a storm might loosen a fastener and leave it loose. On a Larrabee-area roof, that same loosened fastener has been quietly corroding for years before the storm ever hit, so the wind just finishes what the salt air already started. That's why storm repairs out here need to look past the obvious damage and check the condition of every metal component nearby, not just the ones that failed outright.
Wind Funneling Along Chuckanut Drive
The terrain along Chuckanut Drive — narrow shoreline squeezed between the water and steep, forested slopes — funnels wind rather than letting it dissipate. Storms that would spread out and lose force over flat ground instead get channeled, which is part of why isolated pockets of roof damage show up on one side of a hill while a neighboring roof a short distance away is untouched. It also means uplift on ridges and hips tends to be more severe here than the storm's reported wind speed would suggest for the wider region.
A Moss Season That Never Really Ends
Whatcom County's wet, mild winters keep moss and moisture active on north-facing and shaded slopes for most of the year, and roofs tucked under the fir and cedar canopy near Larrabee get less drying time between rain events than roofs out in the open. Moss growth isn't cosmetic — it holds moisture against the roofing material, lifts shingle edges, and creates a spongy layer that hides storm damage underneath it. Any honest storm repair out here has to deal with the moss problem, not just the hole or the missing shingle.
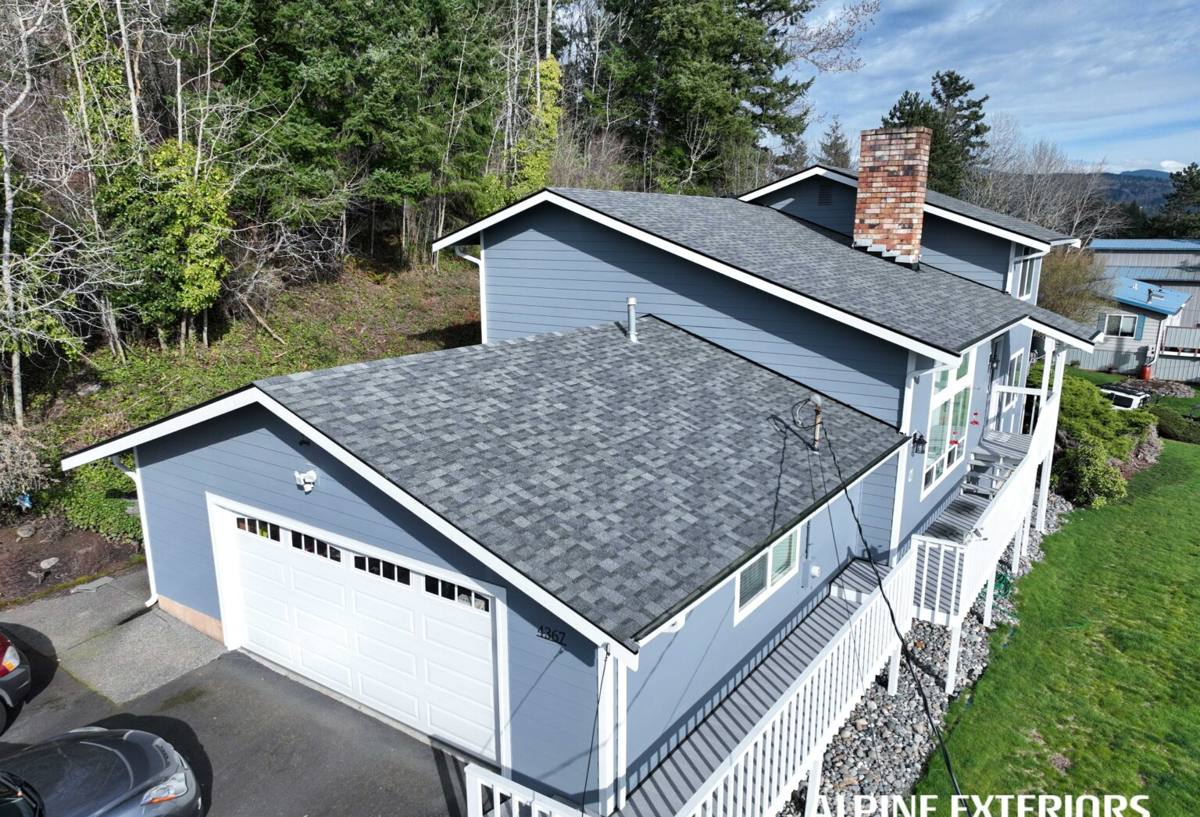
What Actually Counts as Storm Damage
Homeowners often picture storm damage as a missing section of shingles or a hole punched through the decking. That's part of it, but most of the calls we get after a windstorm in this area fall into a few categories, and some of them are easy to miss from the ground.
Wind Damage
Wind damage usually shows up as lifted, creased, or torn shingles along ridges, hips, and roof edges — the places wind grabs first. Sometimes the shingle stays in place but the seal underneath has broken, which means it looks fine from the driveway but will leak the next time rain comes from the wrong angle.
Tree and Debris Impact
With as much mature timber as this area has, storm damage is just as often a branch strike as it is straight wind. Impact damage can crack shingles, dent metal flashing, or punch through decking in a way that's obvious. It can also bruise the roofing material without breaking the surface, which won't leak right away but will fail early.
Wind-Driven Rain Intrusion
The most deceptive category. Rain driven sideways by coastal wind can force its way under flashing, around vents, or through a joint that's never had a problem in ordinary rainfall. There's often no visible exterior damage at all — the first sign is a stain on a ceiling or in an attic days after the storm has passed.
The Damage Homeowners Usually Miss
Lifted and Loose Shingles Under Moss
A shingle that's been lifted by wind can settle back down close enough to its original position that it looks undisturbed, especially under a layer of moss. The seal is broken even if the shingle looks flat, and it will keep letting water in until it's reset or replaced.
Flashing That's Moved, Not Missing
Flashing failure after a storm is rarely a piece blowing off completely. More often it's shifted slightly, bent, or had its sealant cracked by movement — small enough to miss on a quick look but enough to let water track behind it.
Corroded Fasteners and Slow Leaks
Because of the salt air, fastener corrosion here tends to be further along than the roof's age would suggest. A storm that simply loosens an already-weakened fastener can start a slow leak that takes weeks or months to show up inside the house, long after the storm itself is forgotten.
What a Correct Storm Repair Actually Involves
Emergency Tarping and Stabilization
When a roof has active exposure — a hole, missing shingles, or lifted flashing that's letting water in right now — the first job is stopping water intrusion, not doing the final repair on the spot. Proper tarping means securing the material well enough to survive the next round of wind, not just draping something over the damaged area.
Full-Slope Assessment, Not Just the Damaged Section
A storm strong enough to cause visible damage in one spot has usually stressed the surrounding roofing too. A correct repair means checking the full slope — and often the whole roof — for the kind of hidden lifting, flashing movement, and fastener issues described above, rather than patching the one obvious spot and leaving the rest unchecked.
Matching Materials and Blending Repairs
Roofing weathers and fades over time, so a patch using brand-new material next to years-old shingles can stand out. A repair worth paying for tries to match the existing material as closely as possible and blend the repair into the surrounding roof, not just seal the leak.
Our Process, From Call to Close-Out
When you call about storm damage, we start with a conversation to understand what happened and how urgent the exposure is. If water is actively getting in, we prioritize getting a crew out to tarp and stabilize the roof. From there, the process runs in a consistent order:
- Full inspection covering the damaged area and the surrounding slopes
- A written explanation of what we found and what it will take to fix it
- The repair itself, using materials matched to what's already on the roof
- A final walk-through so you know exactly what was done and what to watch going forward
We document the damage with photos at each stage, which also gives you a clear record if you're filing an insurance claim.
Choosing Materials and Fasteners for Coastal Exposure
Not every fastener or flashing material holds up the same way this close to the water. Doing this job correctly in the Larrabee area means choosing components rated for the exposure, not whatever is fastest or cheapest to install.
| Material | Salt Air Resistance | Typical Use | Trade-Off |
|---|---|---|---|
| Standard electro-galvanized fasteners | Weakest — corrodes fastest near salt air | Inland or budget work | Not appropriate for shoreline exposure; early rust |
| Hot-dip galvanized fasteners and flashing | Solid mid-tier resistance | Good baseline coastal choice | Best value for most Larrabee-area repairs |
| Stainless steel fasteners | Strong long-term resistance | Ridge, hip, and high-exposure areas | Higher upfront cost, longer service life |
| Copper flashing | Excellent — ages rather than corrodes | Valleys, chimneys, complex details | Higher material and labor cost |
Insurance Claims and Documentation
Most homeowner policies cover sudden storm damage, but the claims process goes smoother when the damage is documented clearly and promptly. We're not insurance adjusters and won't promise a claim outcome, but we can provide a written inspection report, photos of the damage, and an itemized repair estimate — the kind of documentation adjusters generally ask for. It's worth calling your insurer as soon as damage is discovered rather than waiting, since most policies have windows for reporting storm events.
Why a Crew That Already Works Larrabee Matters
A roofer who mostly works dry, inland neighborhoods can still do competent repairs, but they're not necessarily looking for the things that matter most out here — corrosion on fasteners that look fine at a glance, flashing that's shifted rather than obviously failed, or moss growth that's been masking a slow leak for a season or two. A crew that regularly works the Chuckanut and Larrabee corridor knows what this specific stretch of coastline does to a roof over time, and inspects accordingly instead of treating every storm call the same way regardless of where the house sits.
After the Repair: Keeping It From Becoming a Repeat Job
A storm repair holds up better with a little follow-through, especially in an area with this much moss pressure and salt exposure.
- Check gutters and downspouts for granule buildup or debris after any windstorm
- Look for moss creeping onto shingle edges before it spreads across the slope
- Have flashing around chimneys, vents, and skylights checked each year, not just after a storm
- Watch ceilings and attic spaces for staining in the weeks after a storm, not just immediately after
- Trim back branches that overhang the roofline where it's safe and practical to do so
- Keep a copy of your storm repair documentation with your insurance records
If a recent windstorm has left shingles lifted, flashing shifted, or a stain creeping across a ceiling, it's worth having it looked at before the next system rolls in off the water. We offer free, no-pressure estimates for storm damage repair in the Larrabee and Chuckanut area — just fill out the form below and we'll take a look.