 Chuckanut Exterior
 Mount Vernon Siding Takes a Different Kind of Beating
Homes in and around Mount Vernon sit in a stretch of the Skagit Valley where salt-laden air off the Salish Sea, long stretches of driving rain, and a moss season that can run half the year all work on exterior siding at once. It's not one dramatic storm that does the damage — it's the slow, cumulative effect of moisture finding its way behind panels, joints, and trim, month after month, for years. A siding repair that only addresses what's visible on the surface tends to fail again within a season or two, because the underlying cause never got fixed.
We've repaired siding on homes throughout this area long enough to recognize the patterns. Damage tends to cluster on north- and west-facing walls that stay damp longest, around window and door trim where caulking has failed, near ground level where splashback and vegetation keep siding wet, and at any point where a past repair or add-on created a seam that wasn't properly flashed. Knowing where to look — and why — is half the job before a single piece of siding comes off the wall.
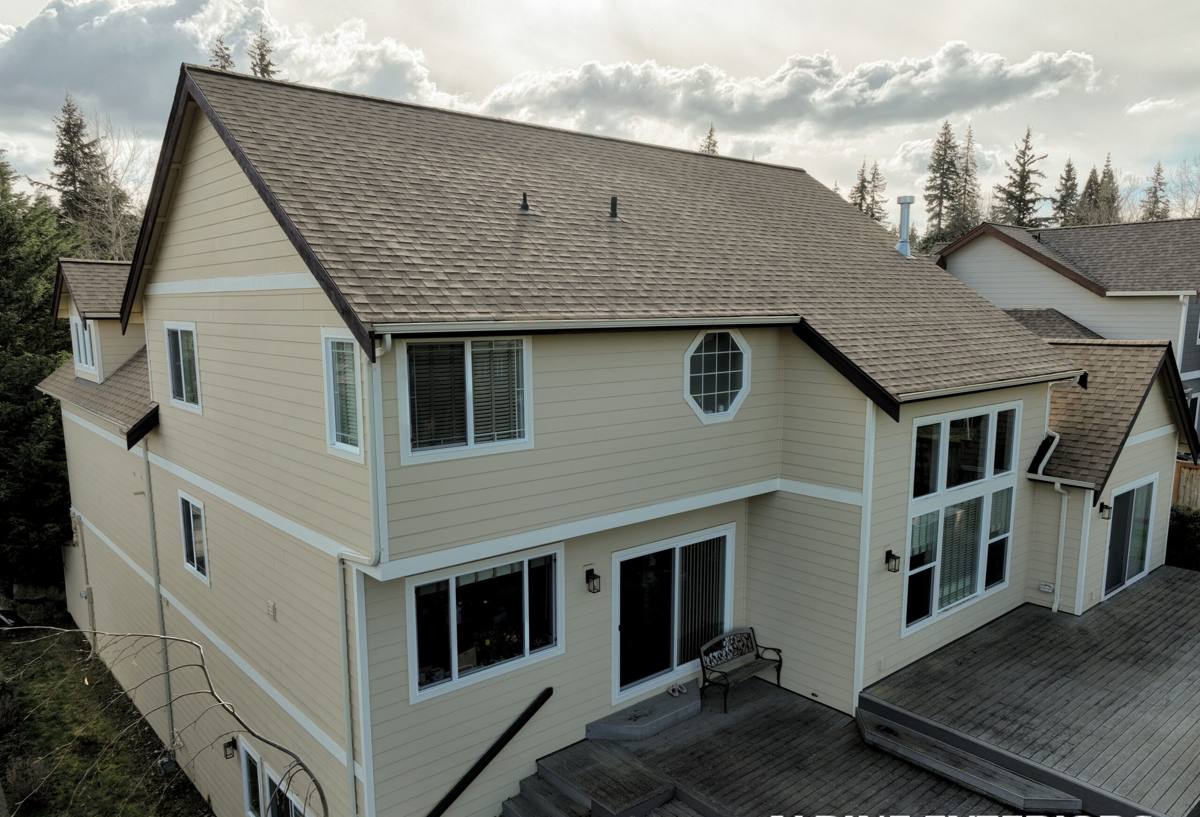
Signs Your Siding Needs Repair, Not a Full Replacement
Not every problem means starting over. Most siding failures we see are localized and fixable if they're caught before moisture spreads. Here's what typically points to a repair rather than a full re-side:
- Soft, spongy, or crumbling spots in an otherwise sound wall — usually a sign of a failed seam or trim joint nearby, not a system-wide failure
- Visible cracking or chipping limited to a few boards, especially near corners or fastener points
- Bubbling, peeling, or discolored paint in isolated patches rather than across the whole elevation
- Gaps opening up at butt joints or around window and door trim where caulk has shrunk and pulled away
- Moss or persistent green staining concentrated on one wall or under an overhang, rather than the whole house
- A soft spot you can press with a thumb, but no give in the sheathing behind it when you knock on the wall
If damage is scattered across every wall, if you're finding soft sheathing behind multiple sections, or if the siding is a product nearing the end of its realistic service life, that's a different conversation — and an honest contractor will tell you that upfront rather than patching a wall that needs to come off.
What a Correct Repair Actually Involves
Finding the Real Cause First
The visible damage is a symptom. Before we touch a single board, we're tracing where water is actually getting in — a failed caulk joint, a missing or damaged piece of flashing, a gap where two trim pieces meet, or a spot where the water-resistive barrier behind the siding was compromised. Replacing a damaged panel without fixing what let water behind it in the first place just buys you the same repair again in a year or two.
Removing Only What Needs to Come Off
Good repair work is surgical. We remove the damaged material and enough of the surrounding siding to properly access the sheathing and weather barrier underneath — no more, no less. Over-removal creates unnecessary cost and more places for new gaps to form; under-removal leaves compromised material in the wall.
Inspecting and Restoring What's Underneath
Once siding is off, we check the sheathing and house wrap for rot, staining, or saturation. Any compromised wood gets replaced. The water-resistive barrier gets repaired or restored with proper overlap so water is directed out and down, not trapped behind the new siding.
Matching Material and Finish
New material needs to match the existing siding in profile, exposure, and finish as closely as possible. On fiber cement, that means matching plank width and reveal; on painted finishes, it means color-matching or repainting the repaired section so it doesn't stand out as an obvious patch.
Sealing and Flashing Correctly
This is where most quick fixes fail. Every joint, seam, and trim intersection gets flashed or sealed to shed water the way the original installation should have. A repair that looks clean but skips proper flashing is a repair that fails again.
Repair vs. Replacement: How We Make the Call
| Factor | Points Toward Repair | Points Toward Replacement |
|---|---|---|
| Extent of damage | Isolated to one or two areas | Present on multiple elevations |
| Sheathing condition | Solid behind the damaged section | Soft or rotted in several spots |
| Age of siding | Well within expected service life | Near or past its realistic lifespan |
| Root cause | Identifiable and correctable | Systemic — original install or product issue |
| Material match | Available or closely matchable | Discontinued or no longer manufactured |
We walk homeowners through this table honestly on the initial visit. If a repair genuinely solves the problem, we say so and price it that way. If what's underneath tells a different story, we'll show you what we found before recommending anything more.
Why We Repair With Fiber Cement, Not Whatever Matches Fastest
When we're called out to a repair on a home that isn't already Hardie siding, we'll match what's there as closely as we can — that's the honest, respectful way to handle an existing home. But when a homeowner is dealing with recurring repairs, or when enough of a wall needs replacement that a product decision is genuinely on the table, we're going to recommend James Hardie fiber cement, and we'll explain why plainly.
Vinyl siding can crack in cold snaps and warp under direct sun exposure, and once a panel is damaged it's often discontinued or faded relative to the rest of the wall, making an invisible patch difficult. Wood and primed spruce trim are exactly the products most vulnerable to the rot we're cutting out of walls in the first place — they need consistent repainting and caulk maintenance to survive a climate this wet, and a missed maintenance cycle is often what created the repair call to begin with. We don't install those products, and on a coast this damp, we think that's the right call for a long-term repair strategy rather than a recurring one.
James Hardie's fiber cement is engineered specifically for climates like this one — it doesn't absorb water the way wood does, it won't warp or crack from freeze-thaw cycling the way some other materials can, and the factory-applied ColorPlus finish holds color without the repaint cycle that painted wood trim demands. When a repair calls for new material, that's what goes back on the wall.
Our Process for a Mount Vernon Repair Call
- On-site assessment. We inspect the visible damage and probe the surrounding area and sheathing to understand how far the problem actually extends.
- Honest scope and estimate. You get a clear explanation of what we found, what caused it, and what it will take to fix it right — including if that scope is bigger or smaller than what brought you to call.
- Removal and inspection. Damaged siding and trim come off; sheathing and the weather barrier get checked and repaired as needed.
- Rebuild and reseal. New material goes in matched to the existing siding, with flashing and sealant detail done to spec, not just caulked over.
- Finish and walkthrough. Paint or finish work is matched, the area is cleaned up, and we walk the repair with you before we call it done.
Between Repairs: Managing Moss and Moisture Long-Term
A repair fixes what's already failed, but the conditions that caused it don't go away. In a region where moss can establish itself on a shaded wall within a single wet season, a little routine attention goes a long way toward avoiding the next repair call:
- Trim back vegetation and tree limbs that keep a wall in shade and hold moisture against the siding
- Rinse moss and algae growth off siding before it gets a chance to hold moisture against the surface — a soft wash, not a pressure washer aimed directly at seams
- Check caulk at trim, window, and door joints yearly and recaulk before gaps open up, not after
- Keep gutters and downspouts clear so runoff isn't sheeting down a wall it was never meant to hit
- Watch for soft spots or discoloration after the wet season and address them early, while it's still a small repair
Why Local Repair Experience Matters
Siding repair is diagnostic work as much as it's installation work. A crew that's repaired siding across Mount Vernon and the surrounding Skagit Valley has already seen how this specific stretch of coastline treats different products, orientations, and installation details — which walls fail first, which trim details hold up and which don't, and which quick fixes from years past tend to be hiding a bigger problem underneath. That's not something you get from a general handyman crew or a one-time visit from a company based somewhere the climate doesn't behave the same way.
It also matters for accountability. A repair crew that plans to keep working in this area has every reason to do the job right the first time, because a callback isn't a stranger's problem — it's ours to answer.
Get a Straight Answer on Your Repair
If you're seeing soft spots, gaps, staining, or moss taking hold on your siding, it's worth having someone look before the next wet season makes the problem worse. We'll give you a clear, no-pressure assessment of what's actually going on and what it will take to fix it — request a free estimate using the form below.