 Chuckanut Exterior
 New-Construction Windows Built for Silver Beach From the Ground Up
When a home in Silver Beach is framed and ready for windows, that's the one chance to get the water management right before siding, trim, and interior finishes cover it up. New-construction windows are installed with a nailing fin directly into the rough opening, integrated with the house wrap and flashing before the exterior skin ever goes on. Get that sequence wrong and the mistake is buried for years — usually until someone notices staining, soft trim, or a musty smell near a window and by then the fix means opening up finished wall. Get it right the first time and that window should be one of the last things you ever have to think about.
We work new builds and additions in Silver Beach and around Chuckanut regularly, which means we're not guessing at how this area's weather treats a wall assembly. We're installing to a standard that assumes salt-laden air, sideways rain, and a long damp season are the normal condition, not the exception.
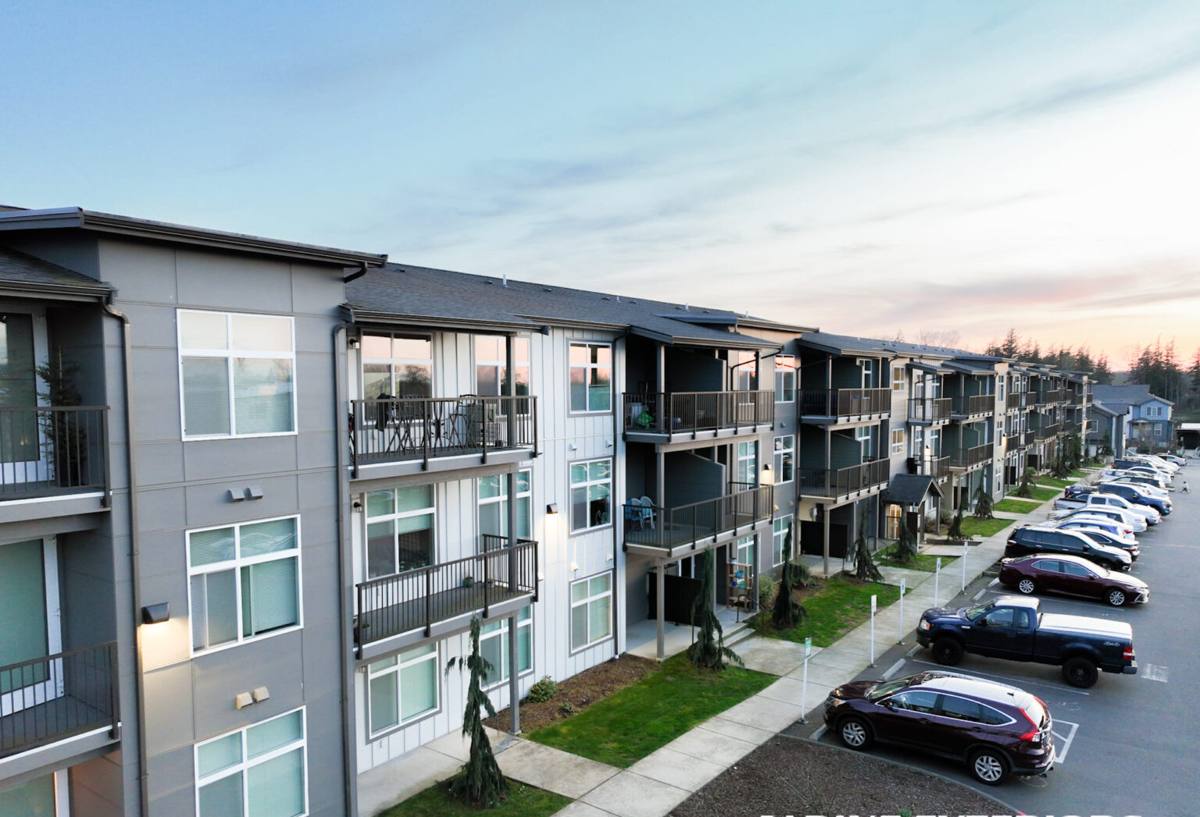
The Climate Factor: What Silver Beach Homes Are Actually Up Against
Whatcom County's marine climate is mild compared to a lot of the country, but "mild" doesn't mean easy on a building. Three things drive most of the window-related problems we see on newer homes in this area:
Salt Air
Proximity to open water means airborne salt settles on exterior surfaces and hardware. Over time it accelerates corrosion on unprotected fasteners, cheap cranks and locks, and aluminum components that aren't rated for a marine-influenced environment. It also degrades some sealants and finishes faster than manufacturers' standard warranty testing accounts for.
Driving Rain
Storms here don't just fall straight down — wind pushes rain sideways and up under trim, sills, and poorly lapped flashing. A window that would be fine in a calm, dry climate can leak in this one if the flashing details aren't shingled correctly to shed water downward and outward at every layer.
A Long Moss Season
Extended damp stretches keep exterior wood, trim, and even some vinyl and composite surfaces wet for days at a time. That's exactly the environment moss and algae need to establish. Left unaddressed, moss holds moisture against sills and cladding, which shortens the life of paint, caulk, and wood trim around a window opening.
None of this means new-construction windows are a bad idea here — quite the opposite. It means the installation details that get treated as optional in drier climates are not optional in Chuckanut.
What a Correct New-Construction Window Installation Actually Involves
A window is only as good as the opening it sits in and the flashing system around it. The window unit itself is often the easy part.
Sill Pan Flashing First
Before a window ever goes into the rough opening, the sill should have a sloped, sealed pan flashing that directs any water that gets past the window back out to the exterior — not down into the wall framing. This is the single most common detail we find missing or done poorly on homes that develop rot around windows within their first decade.
Shingle-Lap Sequencing
Flashing tape and building paper have to be layered like shingles on a roof — each layer overlapping the one below it — so water is always directed outward and down, never trapped behind a lap that runs the wrong way. This applies at the sill, the sides (jambs), and the head of the opening, in that order.
Head Flashing and Drip Caps
Given how much wind-driven rain this area sees, head flashing above the window needs a real drip edge that kicks water away from the wall face, not just a strip of tape pressed flat against the sheathing.
Fastening and Sealant
Nailing fins need to be fastened per the manufacturer's schedule — not just "enough nails to hold it up." Sealant at the fin and trim needs to be a product compatible with the window frame material and rated for exterior exposure in a wet, salt-influenced climate, applied where it manages water rather than trapping it.
Insulation at the Gap
The gap between the window frame and rough opening should be filled with a low-expansion, window-rated foam or backer rod and sealant — never packed tight with fiberglass alone, which does little for air sealing and nothing for water management.
Choosing a Frame Material That Holds Up Here
Frame material matters more in a marine climate than in most parts of the country, because it affects how the window handles moisture, salt exposure, and years of damp weather without maintenance turning into a second job.
| Frame Material | How It Handles This Climate | Maintenance | General Cost |
|---|---|---|---|
| Vinyl | Good moisture and corrosion resistance; quality varies a lot by manufacturer | Low — occasional cleaning | Lower |
| Fiberglass | Excellent dimensional stability in temperature and moisture swings; handles salt air well | Low | Mid to higher |
| Wood-clad | Attractive interior wood with an exterior shell, but the cladding seams need careful detailing to keep moisture off the wood core | Moderate — watch cladding joints and interior finish | Higher |
| Aluminum (uncoated or poorly finished) | Prone to corrosion and pitting in salt air unless properly finished and rated for marine exposure | Higher | Varies |
We don't push one brand or material on every job. What we do insist on is a frame and hardware finish rated for coastal or marine exposure, corrosion-resistant fasteners and hinges, and a manufacturer with a warranty structure that actually accounts for a wet climate rather than assuming a dry one. If a product's install instructions or warranty terms depend on conditions this area doesn't have, that's a maintenance burden we'd rather flag up front than let a homeowner discover later.
Energy Performance for This Climate
Washington's energy code sets minimum performance requirements for new-construction windows, and those minimums exist for a reason — a well-rated window cuts down on condensation, drafts, and heating costs through our long wet, cool season. For Whatcom County builds we're looking at U-factor (how well the window resists heat loss) and solar heat gain coefficient (how much solar warmth it lets in) that fit our climate zone, not a generic national default. Low-E glass and properly sealed multi-pane units both help manage condensation on cold, damp mornings, which is a real concern in a house that sits in persistent marine humidity for months at a time.
Our Process, Start to Finish
- Plan review and consultation — we look at the framing plan or walk the framed shell, talk through window selection, and flag any openings that will see the worst wind-driven rain exposure.
- Rough opening check — every opening gets verified square, level, and plumb, and sized correctly for the chosen window before anything is installed.
- Sill pan and flashing installation — sloped sill pans and shingle-lapped flashing go in first, before the window ever touches the opening.
- Window setting and fastening — units are set, shimmed, and fastened to the manufacturer's schedule, checked for square and smooth operation before final fastening.
- Head flashing and integration with the weather barrier — the window is tied into the house wrap so water sheds over every layer correctly.
- Pre-siding inspection — we check every opening's flashing before it gets covered by siding or trim, because this is the last point anyone can see it without cutting into the wall.
- Final walkthrough — operation, seals, and trim are checked once the exterior is closed in.
Why a Crew That Already Works Silver Beach Matters
New-construction window details are largely invisible once the house is finished, which means the contractor's judgment during installation is what you're really relying on — not something you can inspect yourself after the fact. A crew that regularly works Silver Beach and the broader Chuckanut area already knows which elevations on a given lot tend to catch the worst driving rain, how much salt exposure to plan for depending on how close a home sits to open water, and how long moss season really runs here versus what a generic install manual assumes. That's the difference between following a manufacturer's install sheet and actually building a window assembly that holds up to the conditions it will sit in for the next 20-plus years. We also stay reachable locally if a builder, GC, or homeowner has a question during framing or after move-in — not a call center hours away.
A Practical Checklist for New-Construction Window Installation
- Rough openings verified square, level, and correctly sized before window delivery
- Sloped sill pan flashing installed at every opening, not just some
- Flashing and building paper shingle-lapped in the correct water-shedding order
- Head flashing includes a real drip edge, not flat tape against the sheathing
- Fasteners and hardware rated for salt-air/marine exposure
- Sealant compatible with the frame material and rated for exterior, wet-climate use
- Window U-factor and SHGC meet current Washington energy code for this climate zone
- Gap between frame and rough opening insulated with low-expansion, window-rated material
- Flashing inspected and photographed before siding closes it in
- Operation, locks, and seals checked at final walkthrough
Let's Talk About Your Silver Beach Build
Whether you're a homeowner working with a builder or a GC looking for a window crew that knows this area's weather, we're happy to walk the framed openings, talk through window and material options, and give you a straightforward, no-pressure estimate. Use the form below to get started.