 Chuckanut Exterior
 Building New in South Hill? Get the Windows Right the First Time
If you're framing a new home or a major addition on South Hill, the windows are one of the few components you genuinely cannot fix cheaply once the siding and interior finishes are in. New-construction windows go in with a nailing flange that ties directly into the house wrap and flashing system — done right, that assembly sheds water for decades. Done wrong, you won't see the problem until there's a stain on a ceiling or soft trim two winters from now. South Hill sits above Bellingham Bay in Whatcom County, and homes up here take a steady diet of salt-tinged air off the water, wind-driven rain, and a long, damp moss season that keeps everything shaded and wet longer than homes further inland. That combination is exactly why the installation details matter more here than in a dry climate.
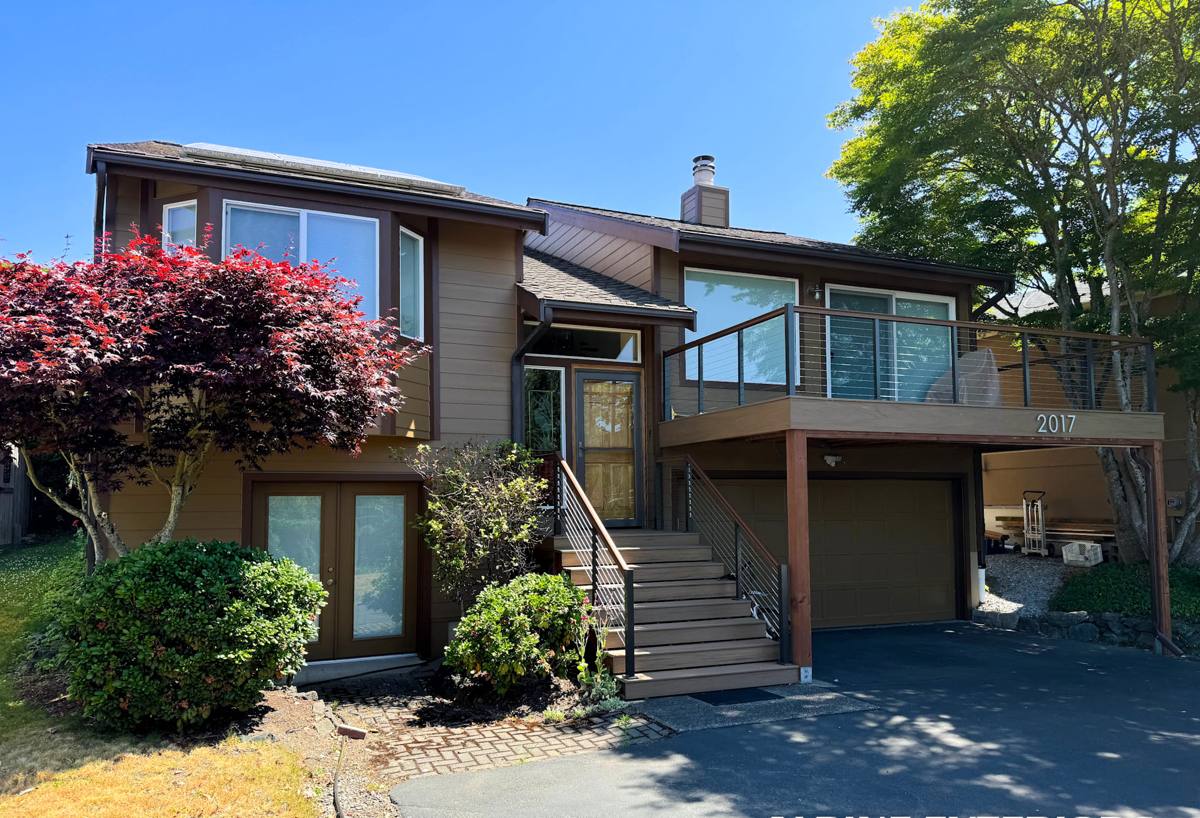
What South Hill's Climate Actually Does to a Window Opening
Whatcom County doesn't get the kind of violent storms some regions do, but it makes up for it in duration and moisture load. A few things we plan around on every South Hill build:
- Salt air corrosion: Elevated sites with bay exposure see airborne salt that accelerates corrosion on unprotected fasteners, low-grade hardware, and some aluminum components over time.
- Driving rain: Wind off the water pushes rain sideways into wall assemblies, not just straight down. That means flashing has to manage water moving horizontally and even slightly upward under wind pressure, not just gravity-fed runoff.
- Long moss and mildew season: Shaded, north-facing walls and anything under tree cover stay damp for extended stretches, which is exactly the environment where poor caulk joints or gaps in house wrap integration turn into slow rot instead of a visible leak.
- Temperature swings between the bay and the hill: Elevation changes across South Hill mean slightly different exposure and wind patterns from one lot to the next, even within the same street.
None of this is exotic. It's steady, unglamorous moisture pressure — and new-construction window openings are one of the most common places it finds a way in when the work is rushed.
New-Construction Windows vs. Replacement: Why the Distinction Matters
These are two different jobs with different failure points. A replacement window goes into an existing, already-flashed opening — the exterior siding stays put, and the new unit is fitted into the old frame or pocket. A new-construction window is installed before the siding goes on, using a nailing flange that gets integrated directly into the house wrap, flashing tape, and sill pan as part of the building envelope itself.
On a South Hill build, that means the window installer isn't working in isolation — the sequencing has to line up with the framer, the house wrap crew, and whoever's doing exterior trim. A window installed out of sequence, or installed correctly but sealed into a wall assembly that wasn't prepped right, will leak regardless of how good the window itself is. We coordinate directly with builders and GCs on timing so the window install happens at the right point in the sequence, not squeezed in around someone else's schedule.
Where New-Construction Installs Go Wrong
- Sill pan skipped or installed without a back dam, so any water that gets past the window has nowhere to go but into the wall
- House wrap lapped in the wrong direction over the flange, so water gets funneled behind it instead of over it
- Flashing tape applied to a dirty, wet, or cold surface where it won't actually adhere long-term
- Corner patches or "boot" details skipped at the bottom corners, which is the single most common leak point in new-construction openings
- Fasteners driven through the flange in the wrong pattern, stressing the frame or leaving gaps
What a Correct Installation Involves
There's a sequence to this, and skipping steps is how call-backs happen years later. On a South Hill job, our process for each opening looks like this:
- Rough opening check: Confirm the opening is square, level, and sized correctly before the window ever shows up on site — catching a framing error now is a five-minute fix, not a demo job later.
- Sill pan installation: A sloped, back-dammed sill pan under every window, so any incidental water is directed back outside instead of pooling against the sill.
- Flashing integration with the house wrap: Flashing tape and house wrap lapped in proper shingle-style order (bottom to top) so water always drains over the layer below it, never behind it.
- Window setting and shimming: Unit set plumb, level, and square, shimmed at the right points so the frame isn't racked or under stress that can crack seals prematurely.
- Flange fastening: Corrosion-resistant fasteners driven per the manufacturer's pattern — this matters more here given the salt air exposure on elevated, bay-facing lots.
- Corner and head flashing details: Reinforced corner patches and a head flashing or drip cap above the unit to break up water flow before it ever reaches the top of the window.
- Final seal and inspection: Interior and exterior sealant beads checked, plus a visual and, where appropriate, water-test check before siding closes the opening up for good.
Every one of these steps is normal, standard practice — nothing exotic. The difference between a window that performs for 30 years and one that causes problems in five usually comes down to whether every step actually happened, in order, on every single opening, not just the ones that are easy to reach.
Choosing the Right Window for a South Hill Build
Frame material matters more on an elevated, bay-exposed lot than it does further inland. There's no single "best" option — it depends on your budget, the home's design, and how much upkeep you want to take on. Here's how the common choices stack up for this specific climate:
| Frame Material | Moisture & Salt Air Behavior | Maintenance | Typical Fit |
|---|---|---|---|
| Vinyl | Won't corrode or rot; performs well in salt air and driving rain when installed correctly | Low — occasional cleaning | Value-focused new construction, rentals, most residential builds |
| Fiberglass | Very stable in temperature swings and moisture; strong long-term performer near the water | Low | Higher-end new construction, larger openings |
| Wood-clad | Attractive interior wood look with an exterior clad shell, but the clad-to-frame seam needs to be watertight and well maintained in this climate | Moderate to higher — seams and finish need periodic attention | Custom or architecturally driven homes where interior wood trim is a priority |
| Aluminum | Strong and slim-profile, but bare aluminum is more prone to corrosion in salt air unless it's a marine-grade or well-finished product | Moderate | Modern designs, large glass openings, commercial-style aesthetics |
We'll walk through these trade-offs with you based on your design, budget, and how exposed your specific lot is — a sheltered, tree-covered parcel on South Hill doesn't need the same spec as an open, bay-facing one.
Working With Your Builder or GC
On new construction, the window installer is one piece of a larger sequence, not a standalone contractor showing up whenever. We coordinate scheduling directly with framers, siding crews, and general contractors so the install happens at the right point — after the house wrap is in place and ready, before siding closes it up. We also flag any framing issues (out-of-square openings, missing blocking, header problems) before they become the window installer's problem to work around, which is a common source of shortcuts on rushed jobs.
If you're a homeowner working with your own GC, we're glad to coordinate directly with them rather than routing everything through you — it keeps the schedule tighter and avoids miscommunication about who's responsible for what at the wall assembly.
Why a Crew That Already Works South Hill Matters
Whatcom County's permitting and inspection requirements, plus the practical realities of building on hillside lots with bay exposure, are things you learn from doing the work here repeatedly — not from a manual. A crew that's already installed windows across South Hill and the wider Chuckanut area knows what local building officials look for at inspection, how exposure varies lot to lot on the hill, and which details actually matter for this specific microclimate versus a generic installation manual written for a national audience. That local experience shows up in fewer surprises during inspection and fewer callbacks after the home is finished and occupied.
A Simple Checklist Before Your Windows Go In
Whether you're a homeowner overseeing your own build or working with a GC, these are worth confirming before window install day:
- Rough openings have been checked for square and correct sizing
- House wrap is installed and properly lapped before windows arrive
- You know which frame material was specified and why it fits your lot's exposure
- Sill pans and back-dam details are part of the written scope, not left to interpretation
- There's a clear plan for who inspects the flashing before siding closes the wall
- Fastener and flashing materials are corrosion-resistant, appropriate for a bay-adjacent site
Get a Straightforward Estimate
If you're framing a new build or planning an addition on South Hill, we're happy to walk the site, talk through window options for your specific exposure, and give you a clear, no-pressure estimate for the installation. Use the form below to get started.